Tag Archive for: Nick Drudge
https://drudge.tv/wp-content/uploads/2022/11/0113.jpg
1080
1920
Nick Drudge
http://x6d.31b.mywebsitetransfer.com/wp-content/uploads/2017/06/dtv-logo.png
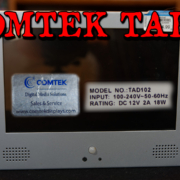
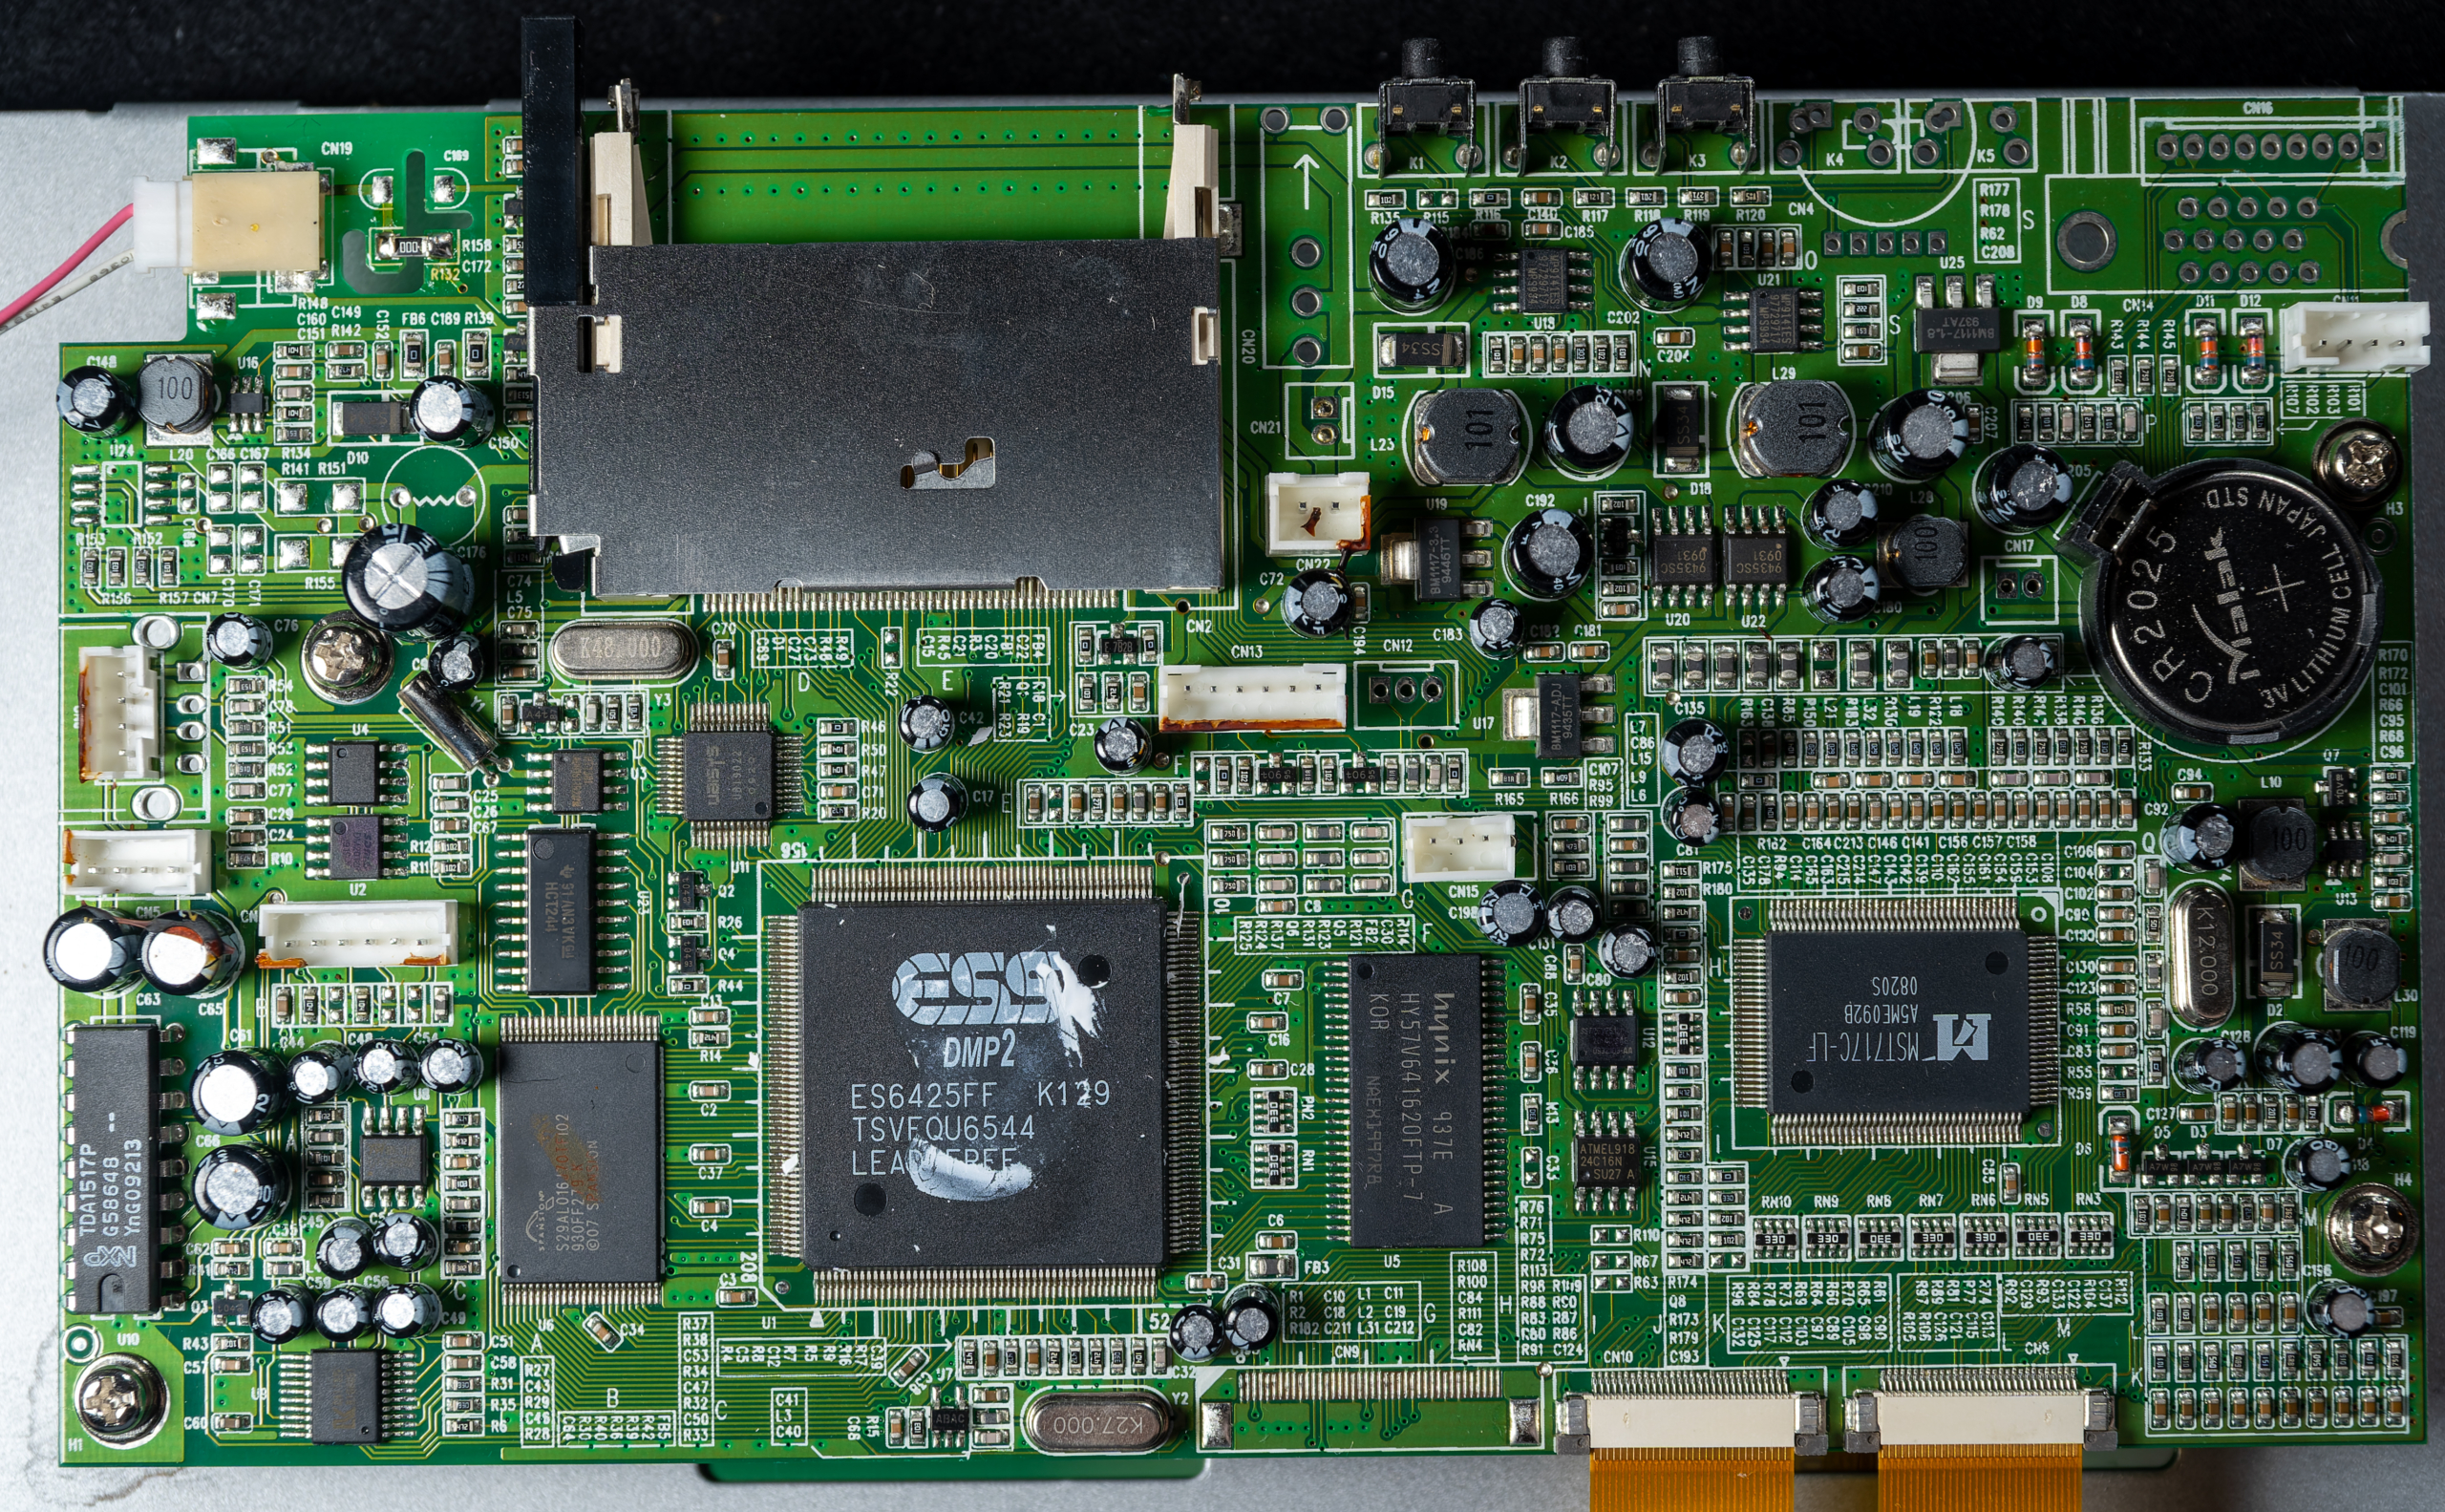
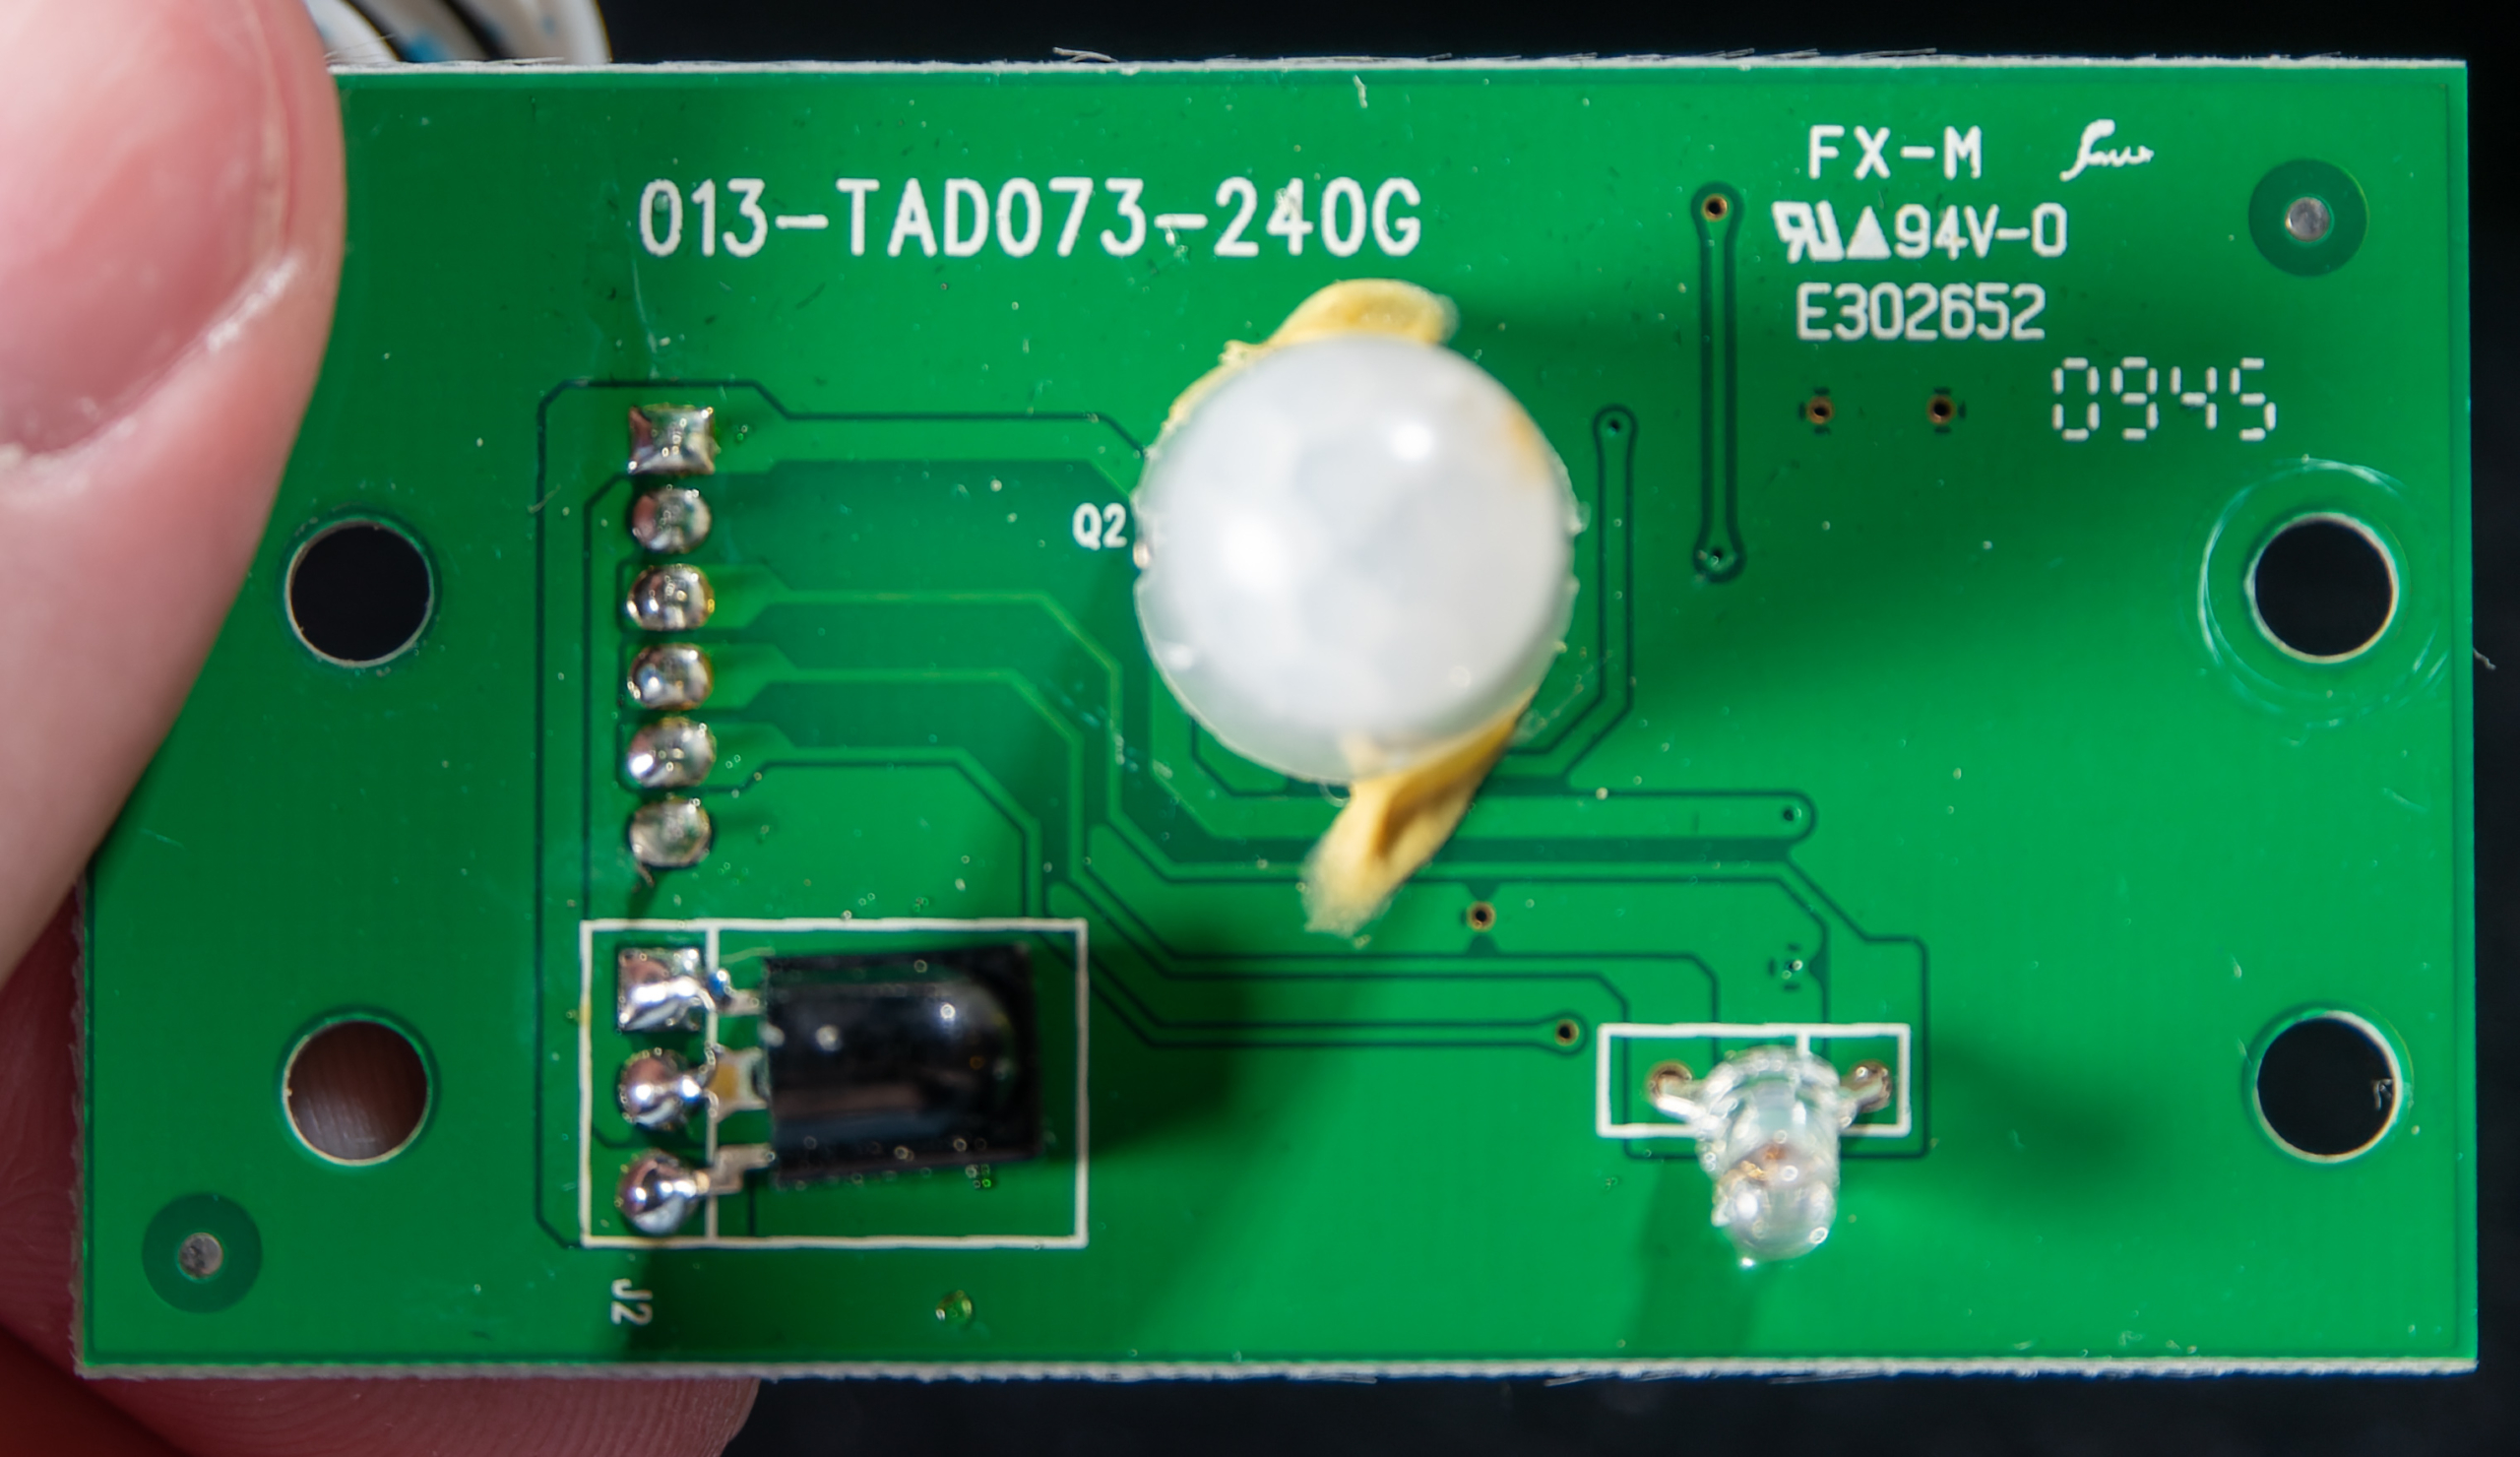
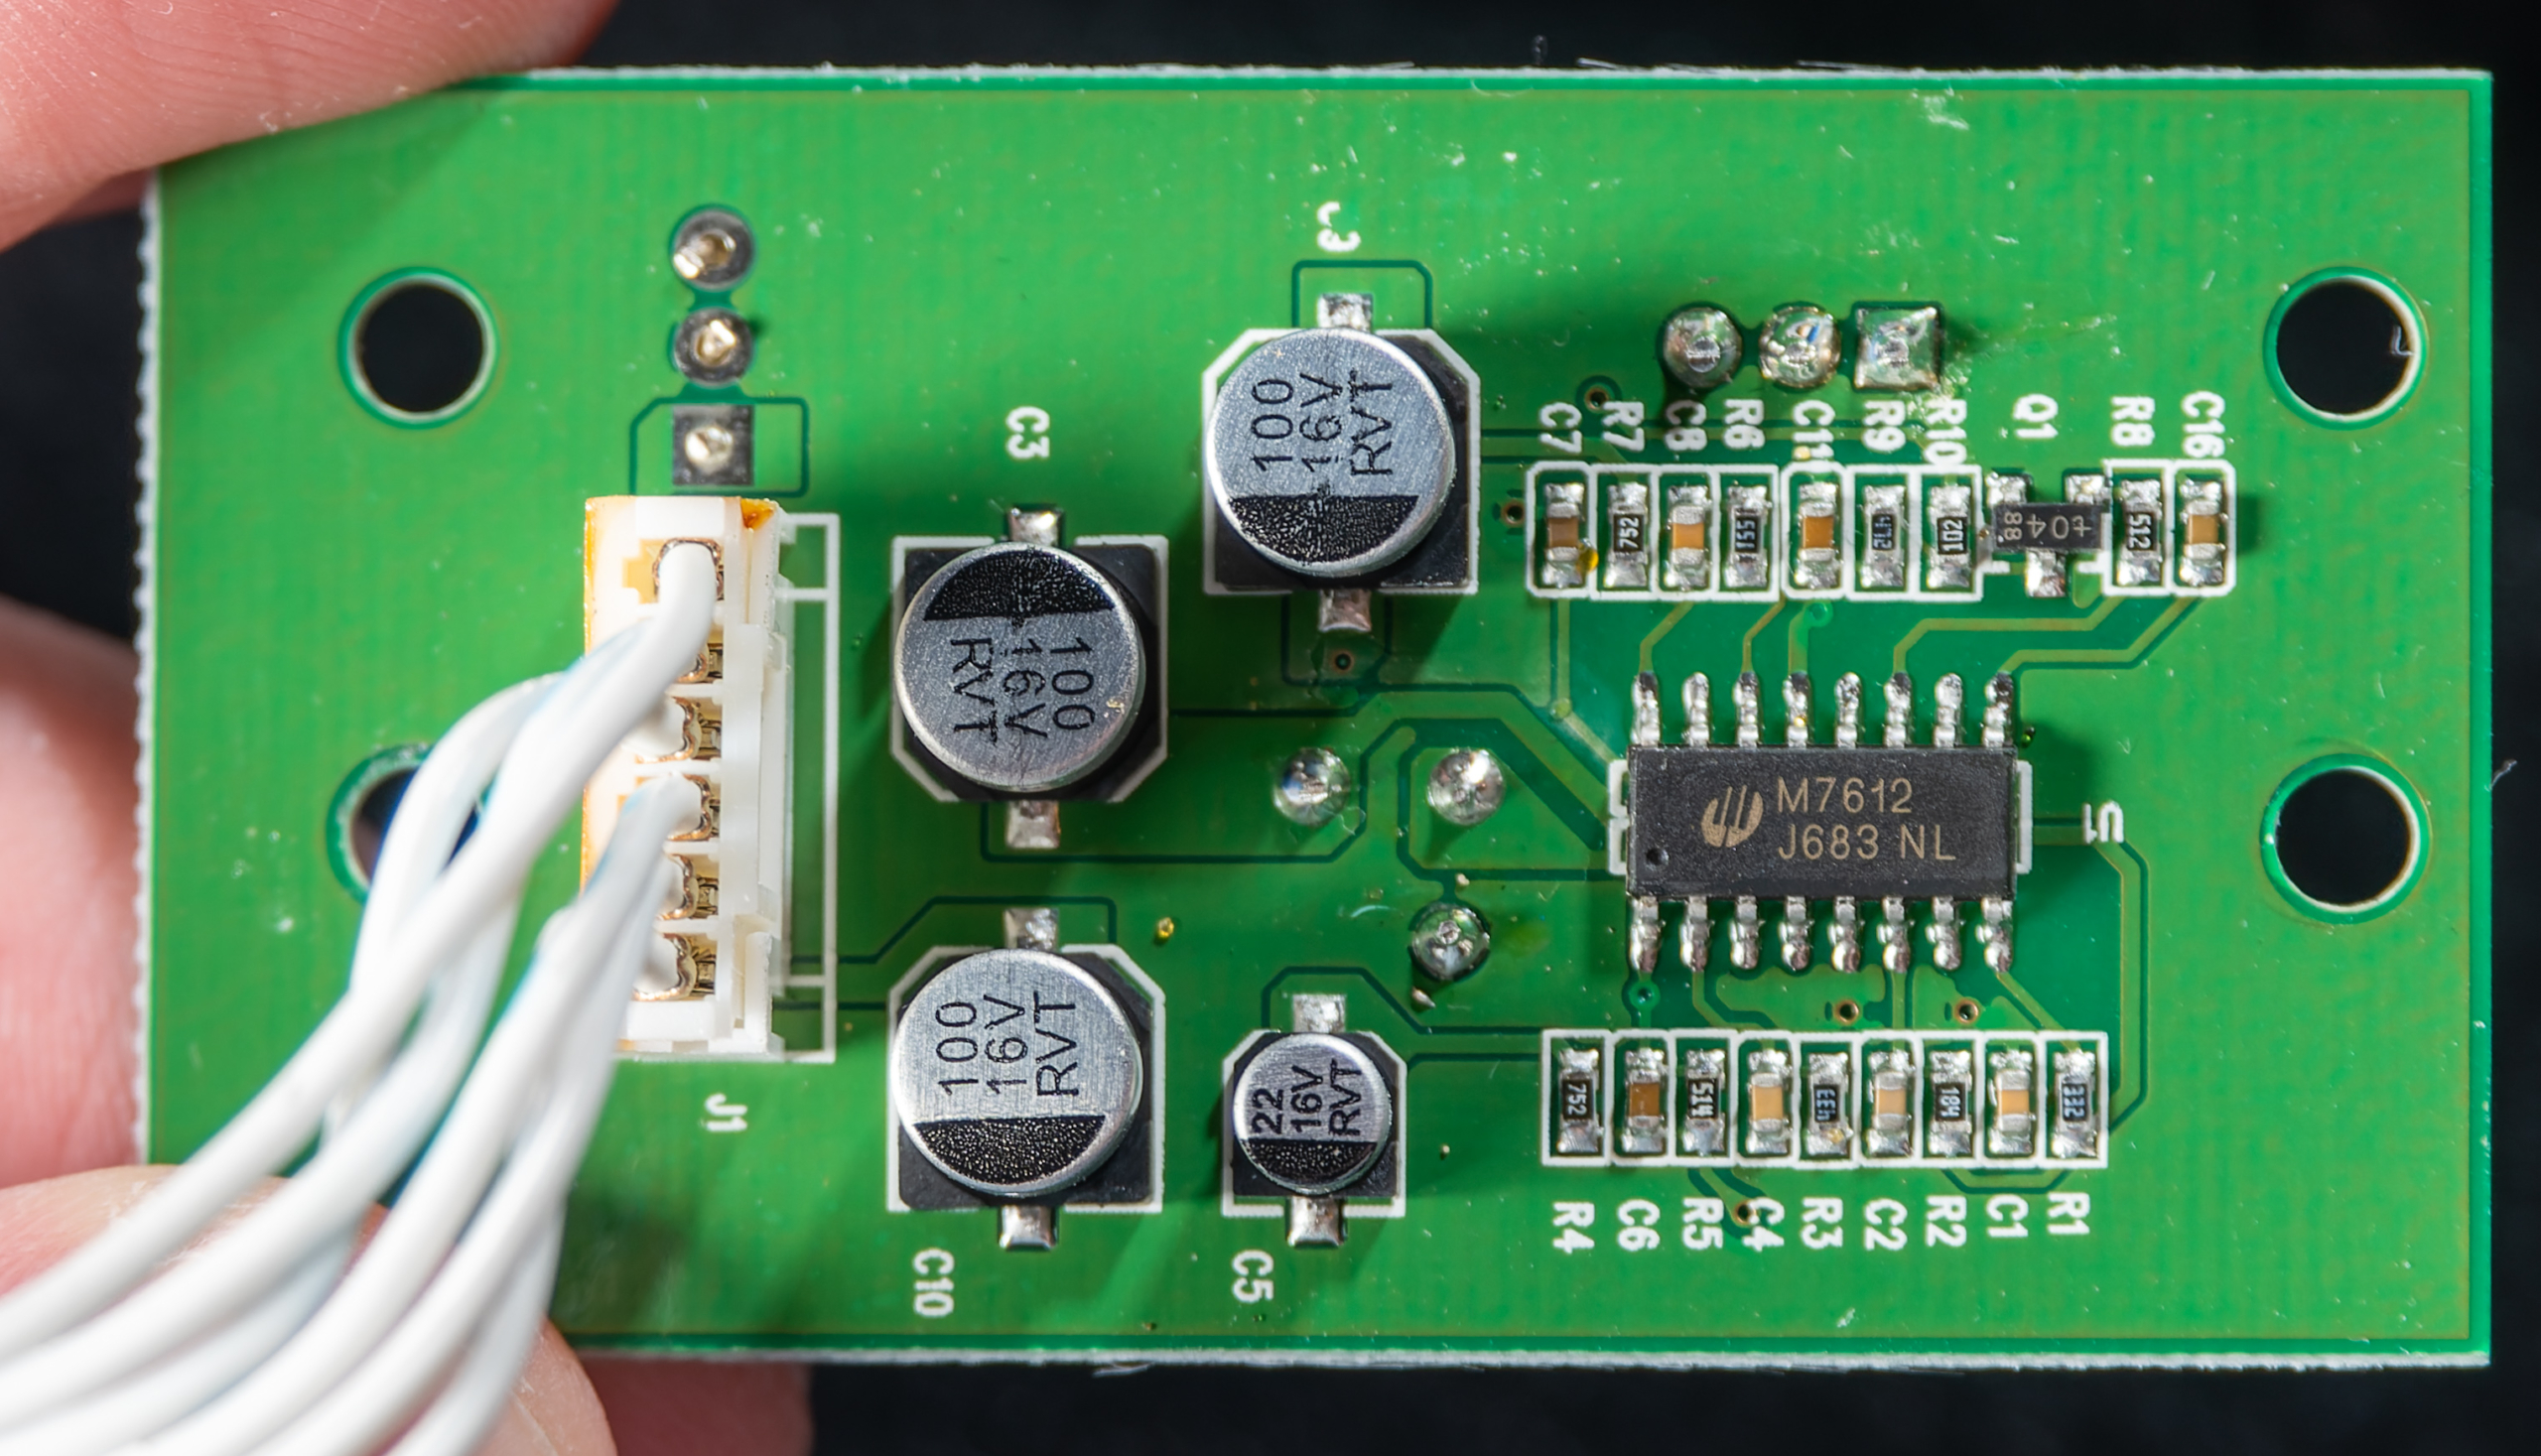
Nick Drudge2022-11-09 19:05:552022-11-09 19:05:55Comtek TAD-102 Video Display Teardown
http://x6d.31b.mywebsitetransfer.com/wp-content/uploads/2017/06/dtv-logo.png
0
0
Nick Drudge
http://x6d.31b.mywebsitetransfer.com/wp-content/uploads/2017/06/dtv-logo.png
Nick Drudge2022-10-14 11:34:492022-10-14 11:34:49An Adventure with the Canon AE-1 – Getting it Working and Developed
http://x6d.31b.mywebsitetransfer.com/wp-content/uploads/2017/06/dtv-logo.png
0
0
Nick Drudge
http://x6d.31b.mywebsitetransfer.com/wp-content/uploads/2017/06/dtv-logo.png
Nick Drudge2022-10-14 11:29:592022-10-14 11:29:59Fujifilm GX680 Film Back Battery Replacement
https://drudge.tv/wp-content/uploads/2022/08/0111.jpg
1080
1920
Nick Drudge
http://x6d.31b.mywebsitetransfer.com/wp-content/uploads/2017/06/dtv-logo.png
Nick Drudge2022-08-17 16:12:172022-08-31 14:39:59Minolta XG-9
https://drudge.tv/wp-content/uploads/2018/09/0098.jpg
1080
1920
Nick Drudge
http://x6d.31b.mywebsitetransfer.com/wp-content/uploads/2017/06/dtv-logo.png
Nick Drudge2018-09-16 10:00:532019-01-08 13:02:43Dollar Store COB Pocket Light from 99 Cents Only
https://drudge.tv/wp-content/uploads/2018/08/0097.jpg
1080
1920
Nick Drudge
http://x6d.31b.mywebsitetransfer.com/wp-content/uploads/2017/06/dtv-logo.png
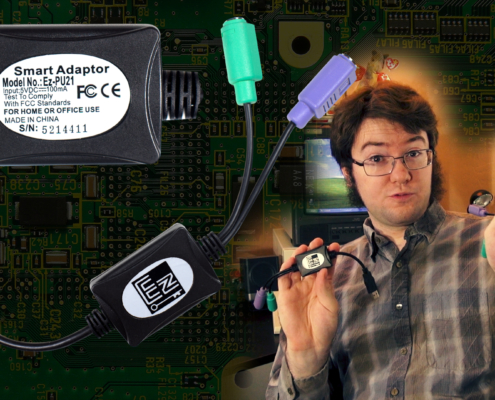
Nick Drudge2018-08-24 10:00:502018-08-28 00:11:46Ez-PU21 PS2 to USB Review Testing and Teardown
https://drudge.tv/wp-content/uploads/2018/08/0096.jpg
1080
1920
Nick Drudge
http://x6d.31b.mywebsitetransfer.com/wp-content/uploads/2017/06/dtv-logo.png
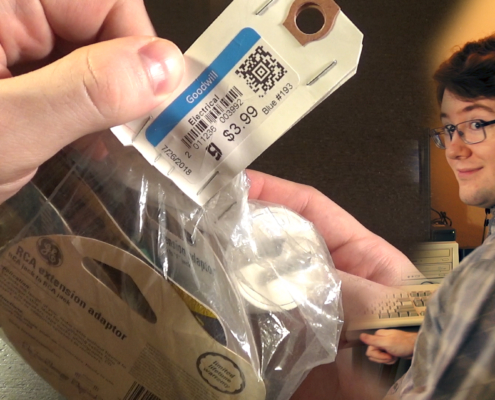
Nick Drudge2018-08-20 12:45:112018-08-20 12:45:11Goodwill Electronics Grab Bag Unboxing (Ubaggoning..? Unbagging?)
https://drudge.tv/wp-content/uploads/2018/04/cord-cutting1920-1.jpg
1080
1920
scott
http://x6d.31b.mywebsitetransfer.com/wp-content/uploads/2017/06/dtv-logo.png
scott2018-04-16 19:54:532018-07-09 09:11:01Cutting the Cord
https://drudge.tv/wp-content/uploads/2018/02/AutoTone.jpg
1080
1920
Nick Drudge
http://x6d.31b.mywebsitetransfer.com/wp-content/uploads/2017/06/dtv-logo.png
Nick Drudge2018-02-08 16:48:002018-02-08 20:18:41Don’t Underestimate Auto Features In Photoshop
https://drudge.tv/wp-content/uploads/2017/06/Gen-Rapid-Home-DSi-Charger-Teardown.png
271
480
Nick Drudge
http://x6d.31b.mywebsitetransfer.com/wp-content/uploads/2017/06/dtv-logo.png
Nick Drudge2017-06-09 11:00:322017-10-12 19:16:13Gen Rapid Home DSi Charger Teardown and Electrical Tests
Tag Archive for: Nick Drudge
Scroll to top